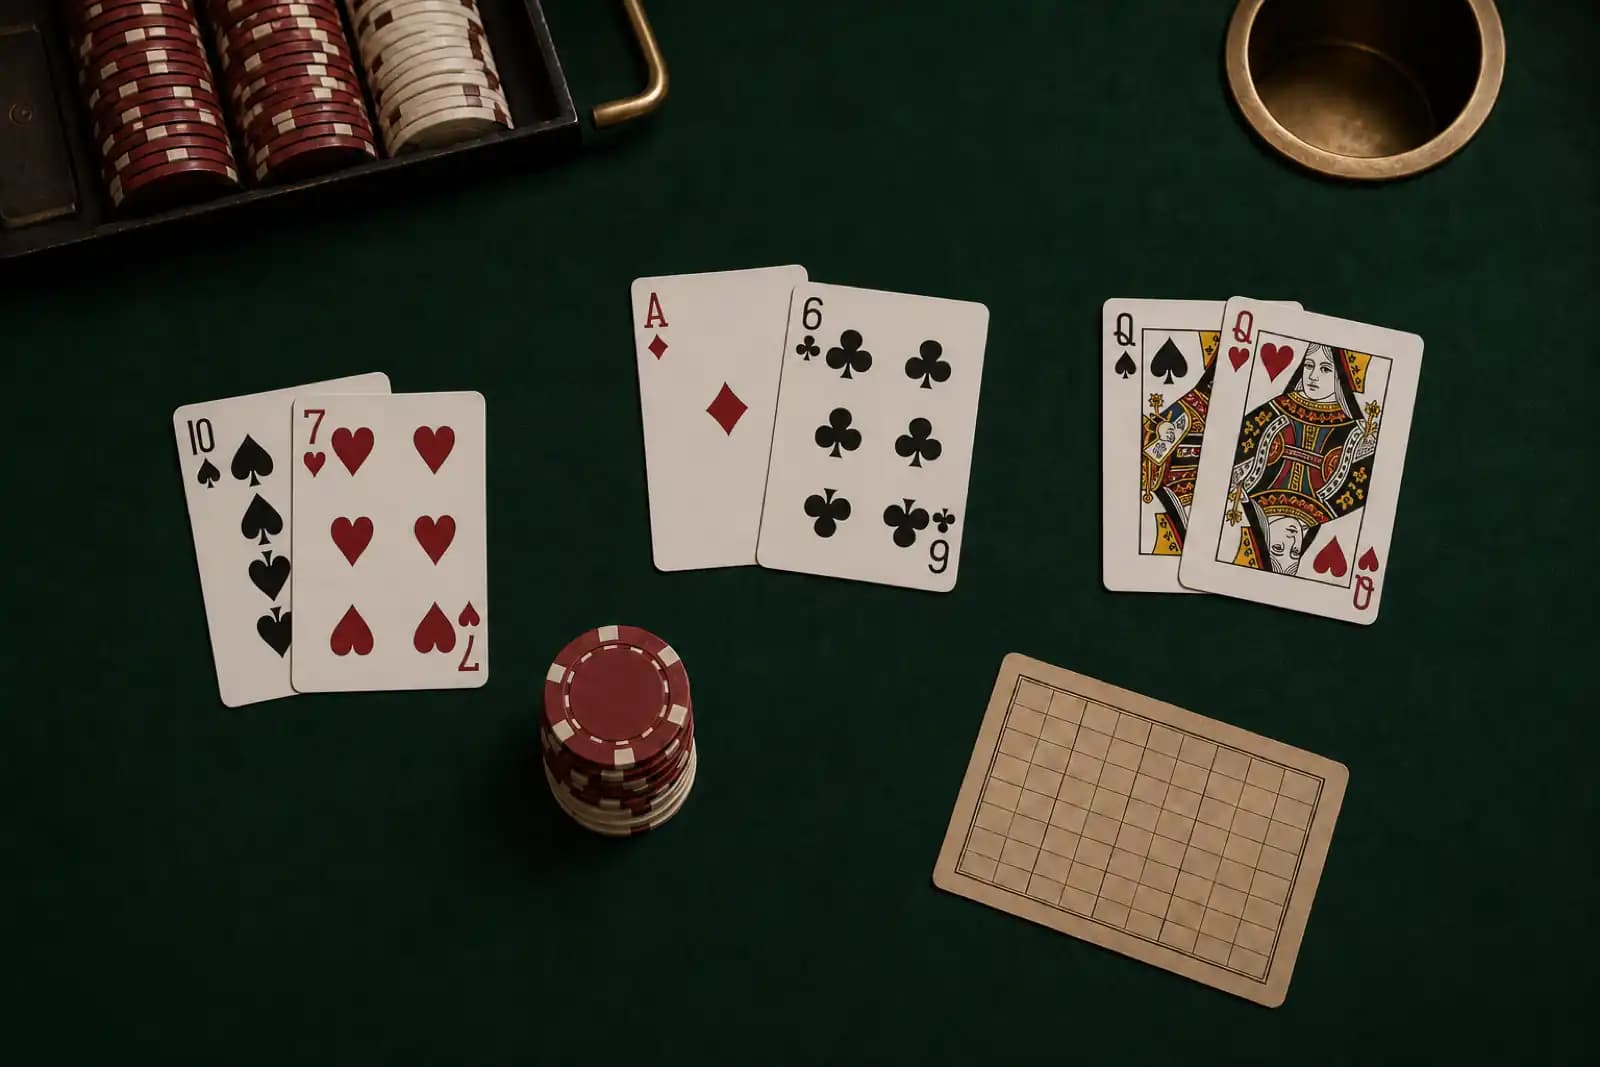
Start with the rule card
Basic strategy is the best available decision for a stated game configuration when the player knows their cards and the dealer’s upcard, but not the dealer’s hidden card or the remaining order of the shoe. A chart is therefore attached to a rule set. Deck count, dealer S17 or H17, double-after-split permission, surrender, and limits on resplitting can move a cell.
Before using a chart, record the table’s blackjack payout, deck count, dealer soft-17 rule, doubling rules, split limits, and surrender procedure. In the Blackjack Index Simulator, set those switches first. Then use Strategy Tables or Strategy Checker with the same profile. A remembered chart from a different game can be close and still be wrong at the margins.
| Hand class | Primary decision lane |
|---|---|
| Hard total | Total row |
| Soft total | Ace-flexible row |
| Pair | Split row first |
Hard totals: the ace has no spare value
A hard total has no ace counted as 11. A hand of 10,6 is a hard 16. So is A,5,10, because the ace must count as 1 to avoid busting. Hard totals often turn on the dealer’s upcard: a dealer 4, 5, or 6 is more likely to break while drawing to a required total, while a 9, 10, or ace gives the dealer more ways to finish a strong hand.
That pattern explains why a hard 12 is commonly stood against 4 through 6 and hit against 2, 3, and 7 through ace. It does not make every low dealer card a stand. With hard 11, the value of receiving one more card is usually strong enough that doubling becomes the chart decision whenever the rules permit it.
Use the total row only after checking whether the hand is a pair. A pair of eights is a hard 16 in arithmetic, yet it belongs in the pair row before the hard-total row because splitting creates two fresh starting hands.
Soft totals: preserve the ace’s flexibility
A soft total contains an ace currently counted as 11. A,6 is soft 17: one additional card cannot bust the hand immediately because the ace can fall to 1. That safety changes the value of taking a card and, in many situations, of doubling.
Soft 17 and soft 18 are useful places to see why a total alone is not enough. With A,7, a player may stand, double, or hit depending on the dealer upcard and the table’s doubling rules. Treating A,7 as a hard 18 throws away that option. After a hit that turns A,7 into A,7,6, the hand is hard 14, so the next decision moves to the hard-total row.
The simulator makes this transition visible. Deal A,7 against several dealer upcards, take a card in the hands where the chart calls for it, and watch the displayed category change when the ace must be counted as 1. The category is part of the decision state, not a label fixed at the first deal.
Pairs: compare one hand with two new hands
A pair is evaluated as a split opportunity before it is evaluated as a total. Splitting places an additional wager and creates separate hands, so the choice depends on the dealer upcard and on what the rules allow after the split. Double after split gives some pairs extra value because the new two-card hands may later double. A cap on resplitting reduces the value of repeated pair outcomes.
Some pair decisions are easy to remember for structural reasons. Aces split because A,A is a soft 12 with limited drawing value but each ace can begin a powerful hand. Tens are normally kept together because a hard 20 already has a strong expectation. Fives are usually played as hard 10, where doubling is often more valuable than creating two weak hands.
The remaining pair rows need the table profile. Two eights against a dealer 10, for example, may have a split or surrender instruction depending on available surrender rules. Strategy Checker should be the final answer for the chosen game, especially when a label such as “double if allowed” includes a fallback instruction.
| Hand shape | Example | First row to consult |
|---|---|---|
| Splittable pair | 8,8 | Pair |
| Soft total without a pair | A,7 | Soft total |
| Hard total without a pair | 10,6 | Hard total |
Read the chart in the right order
- Confirm the table profile and whether the dealer has already checked for blackjack.
- If the cards form a pair that may be split, consult the pair row.
- If an ace can count as 11 without busting, consult the soft-total row.
- Otherwise, consult the hard-total row.
- Apply the chart’s fallback exactly. “Double if allowed, otherwise hit” and “double if allowed, otherwise stand” are different instructions.
After a split or a hit, reassess the new hand rather than carrying forward the original category. A split ace may receive only one card under many table rules. A split pair can also be subject to a resplit limit. These procedural details belong in the same rule profile as the chart.
Practice with one rule profile at a time
Start with a common fixed profile, such as a multi-deck game with 3:2 blackjack, then drill decisions against each dealer upcard. Change one setting in the simulator only after the first profile feels automatic. The visible change in a hard, soft, or pair recommendation is the useful lesson: basic strategy is conditional, and it works only inside the conditions that produced it.